
Miami Emergency Plumbing, Same Day Service
If you’re in Miami, know that Sunny Bliss Plumbing & Air is your trusted expert when it comes to emergency plumbing. Sudden leaks, burst pipes, or backed-up drains can disrupt your home and cause serious damage if not handled quickly. We make sure your plumbing issues are resolved fast so your home stays safe, clean, and fully functional.
Emergency plumbing problems can lead to water damage, pressure issues, and costly repairs. Without immediate attention, these issues can spread throughout your system and affect your entire home’s plumbing performance.
At Sunny Bliss, we respond quickly and inspect your plumbing system thoroughly to identify the root cause of the problem. From fixing leaks to handling major pipe failures, everything is managed efficiently to restore your plumbing system and prevent further damage.
We provide reliable emergency plumbing services so your home remains protected and your plumbing system runs smoothly without delays or stress.
Fast emergency plumbing service helps prevent damage, restore water flow, and keep your home safe and functional.
Call 305-990-1399 for emergency plumbing service in Miami today.
Years in Business
5-Star Reviews
Active Customers
Counties Served
The Problem
Emergency Plumbing Issues Affect Your Home and Water Flow
If you’re in Miami, your plumbing system works daily to supply water throughout your home. When emergencies like burst pipes, leaks, or clogged drains happen, they can quickly disrupt your water flow and cause serious damage. These issues can lead to flooding, pressure loss, and unsafe conditions inside your home.
Ignoring plumbing emergencies can impact how your system performs and how water moves through your property. Leaks and blockages can spread, damaging walls, floors, and fixtures while increasing repair costs.
If emergency plumbing issues are not handled quickly, you may notice water buildup, low pressure, slow drainage, and ongoing damage that affects your entire plumbing system.
Emergency Plumbing Issues — It Starts with Fast Response
Emergency plumbing problems often come from pipe damage, clogs, or sudden system failures. These issues affect how water flows inside your home.
A fast response helps identify the problem quickly so it can be fixed before causing further damage.
Emergency Plumbing Process — Restoring Water Flow
Handling emergency plumbing includes locating the issue, stopping leaks, clearing blockages, and making necessary repairs to restore proper water flow.
This helps your plumbing system work efficiently and prevents further damage throughout your home.
Reliable Emergency Plumbing Supports Safety and Performance
Quick repairs and proper solutions help your plumbing system run smoothly. It restores water flow, prevents structural damage, and keeps your home safe.
Addressing plumbing emergencies early helps avoid costly repairs and long-term system issues.
MIAMI EMERGENCY PLUMBING SERVICES
Fast Emergency Plumbing Solutions, One Complete Service
Emergency plumbing services focus on restoring water flow, fixing leaks, and preventing damage inside your home. From quick inspection to immediate repairs, every step supports safe plumbing operation and overall home protection.
INSPECTION & BASICS
Emergency Plumbing Inspection
- Inspect plumbing system conditions
- Identify leaks and pipe damage
- Detect blockages and pressure issues
- Check overall system performance
- Determine immediate repair needs
WATER FLOW & SYSTEM
Water Flow Restoration
- Restore water flow throughout home
- Clear clogs and blockages
- Support even water distribution
- Improve system performance
- Maintain consistent pressure
PLUMBING SUPPORT
Plumbing System Improvement
- Reduce leaks and water damage
- Support clean and safe water flow
- Improve overall plumbing function
- Maintain balanced system pressure
- Enhance home safety
LEAK & DAMAGE CONTROL
Damage Prevention & Control
- Identify leak-prone areas
- Stop water damage quickly
- Prevent spread of plumbing issues
- Support system stability
- Maintain safe home conditions
SYSTEM PERFORMANCE
Plumbing Efficiency Support
- Reduce strain on plumbing system
- Improve water flow efficiency
- Support proper system operation
- Maintain consistent performance
- Enhance overall efficiency
SERVICE RESPONSE
Same-Day Emergency Plumbing Service
- Fast scheduling for service
- Immediate inspection and repair
- Quick leak fixes and solutions
- Reduce water damage risks
- Restore plumbing quickly
Our Promises to You.
No fine print, no moving targets. Here’s exactly what you get when you call Sunny Bliss.
Upfront Flat-Rate Pricing
You see the price before we start, and that’s what you pay. No hourly meters running, no surprise fees at the end, no “we ran into something extra.” If the scope changes mid-job, we stop and talk to you before doing anything.
Satisfaction Guaranteed
Every repair and installation is backed by our workmanship guarantee plus the manufacturer’s warranty. If something we did isn’t right, we come back and fix it — no charge, no argument.
Same-Day Service, No Overtime Charges
Call us in the morning, we’re usually there by afternoon. Call us at 11 PM on a Sunday, we still show up — and you’ll never pay extra just because it’s a weekend, a holiday, or the middle of the night.
Licensed, Insured, Trained & Background-Checked
Every technician who walks into your home has been vetted, licensed, and insured. Plumbing #CFC1433145, AC #CAC1823405 — both active, both verifiable. If a company can’t tell you that, you shouldn’t let them in.
FAQ
What is considered an emergency plumbing issue?
Emergency plumbing issues include burst pipes, major leaks, sewer backups, clogged drains causing overflow, and sudden loss of water pressure. These problems require immediate attention to prevent damage.
Do you offer same-day emergency plumbing service in Miami?
Yes, Sunny Bliss Plumbing & Air provides same-day emergency plumbing service to handle urgent issues quickly and restore your system without delay.
How fast can a technician arrive for an emergency?
Response time depends on your location, but we prioritize emergency calls and aim to arrive as quickly as possible to minimize damage and fix the issue.
What should I do before the plumber arrives?
You should turn off the main water supply if possible to prevent further damage. Avoid using affected fixtures and clear the area for easier access.
Can emergency plumbing issues cause property damage?
Yes, if not addressed quickly, leaks and pipe damage can lead to water damage, mold growth, and structural issues in your home.
Do you fix all types of plumbing emergencies?
Yes, we handle a wide range of emergencies including leaks, pipe bursts, drain blockages, sewer issues, and water pressure problems.
Will emergency plumbing repairs be permanent?
Our goal is to provide long-lasting solutions. We fix the root cause of the problem to ensure your plumbing system runs properly after repair.
Is emergency plumbing service available 24/7?
Yes, Sunny Bliss Plumbing & Air offers emergency plumbing services to ensure help is available whenever you need it.
Still have more questions?
Sunny Bliss Membership Plans — Pay Less, Get More
Members save on every call and get priority scheduling.
Bronze Plan
ESSENTIAL ACCESS
$10
per month
The basics done right. Priority service, no dispatch fees, and one annual visit each for your HVAC and plumbing — so small issues get caught before they become big ones.
Priority service
No dispatch fee
30-point AC tune-up
1 annual HVAC maintenance visit
1 annual Plumbing maintenance visit
$5/month for each additional HVAC unit
Silver Plan
ELITE EXPERIENCE
$25
per month
Our most popular plan. Everything in Bronze, plus deeper diagnostics (water hardness, pressure, toilet dye tests), a water heater flush, double the HVAC visits, and 10% off every repair.
10% off service and repairs
$200 off installs (water heaters or AC units)
Water pressure test & water hardness test
Tank-type water heater flush
2 annual HVAC maintenance visits
1 annual plumbing maintenance visit
$13/month for each additional HVAC unit
Gold Plan
VIP PRIVILEDGE
$38
per month
The full-service plan for homeowners who want zero surprises. Everything in Silver, plus a free sewer camera inspection, tankless water heater flush, free diagnostic, and 15% off all repairs.
15% off service and repairs
$300 off installs (water heaters or AC units)
1 free sewer camera inspection
Tankless water heater flush
1 free diagnostic fee
$19/month for each additional HVAC unit
Bronze Plan
ESSENTIAL ACCESS
$120
per month
The basics done right. Priority service, no dispatch fees, and one annual visit each for your HVAC and plumbing — so small issues get caught before they become big ones.
Priority service
No dispatch fee
30-point AC tune-up
1 annual HVAC maintenance visit
1 annual Plumbing maintenance visit
$5/month for each additional HVAC unit
Silver Plan
ELITE EXPERIENCE
$300
per month
Our most popular plan. Everything in Bronze, plus deeper diagnostics (water hardness, pressure, toilet dye tests), a water heater flush, double the HVAC visits, and 10% off every repair.
10% off service and repairs
$200 off installs (water heaters or AC units)
Water pressure test & water hardness test
Tank-type water heater flush
2 annual HVAC maintenance visits
1 annual plumbing maintenance visit
$13/month for each additional HVAC unit
Gold Plan
VIP PRIVILEDGE
$456
per month
The full-service plan for homeowners who want zero surprises. Everything in Silver, plus a free sewer camera inspection, tankless water heater flush, free diagnostic, and 15% off all repairs.
15% off service and repairs
$300 off installs (water heaters or AC units)
1 free sewer camera inspection
Tankless water heater flush (with ports only)
1 free diagnostic fee
$19/month for each additional HVAC unit
What Miami Homeowners Say
Real reviews from Miami-Dade & Broward homeowners and property managers — water heater emergencies handled at midnight, slab leaks found without demolition, and full repipes finished ahead of schedule.
“Very impressed with their service. The technician who came over was Noel. He installed a new water heater and everything went real smooth. He was super professional and communicative. Very pleasant and good mannered. Left everything spotless. Very happy with this service. Will definitely call them again if I need a repair or replacement. Thanks again for everything Noel 🙏😊”

Lilita B.
Technician: Noel
“Very satisfied with the service provided by the whole team. Tommy, came to my house and installed a new toilet. He is very knowledgeable and kind, he tried to get me the best and honest opinion on what needed to be done. Camila, at the office was very helpful and kind. Fabio, great at customer service. I recommend Sunny Bliss 100%”

Ana C Seijas Garwacki
Technician: Tommy
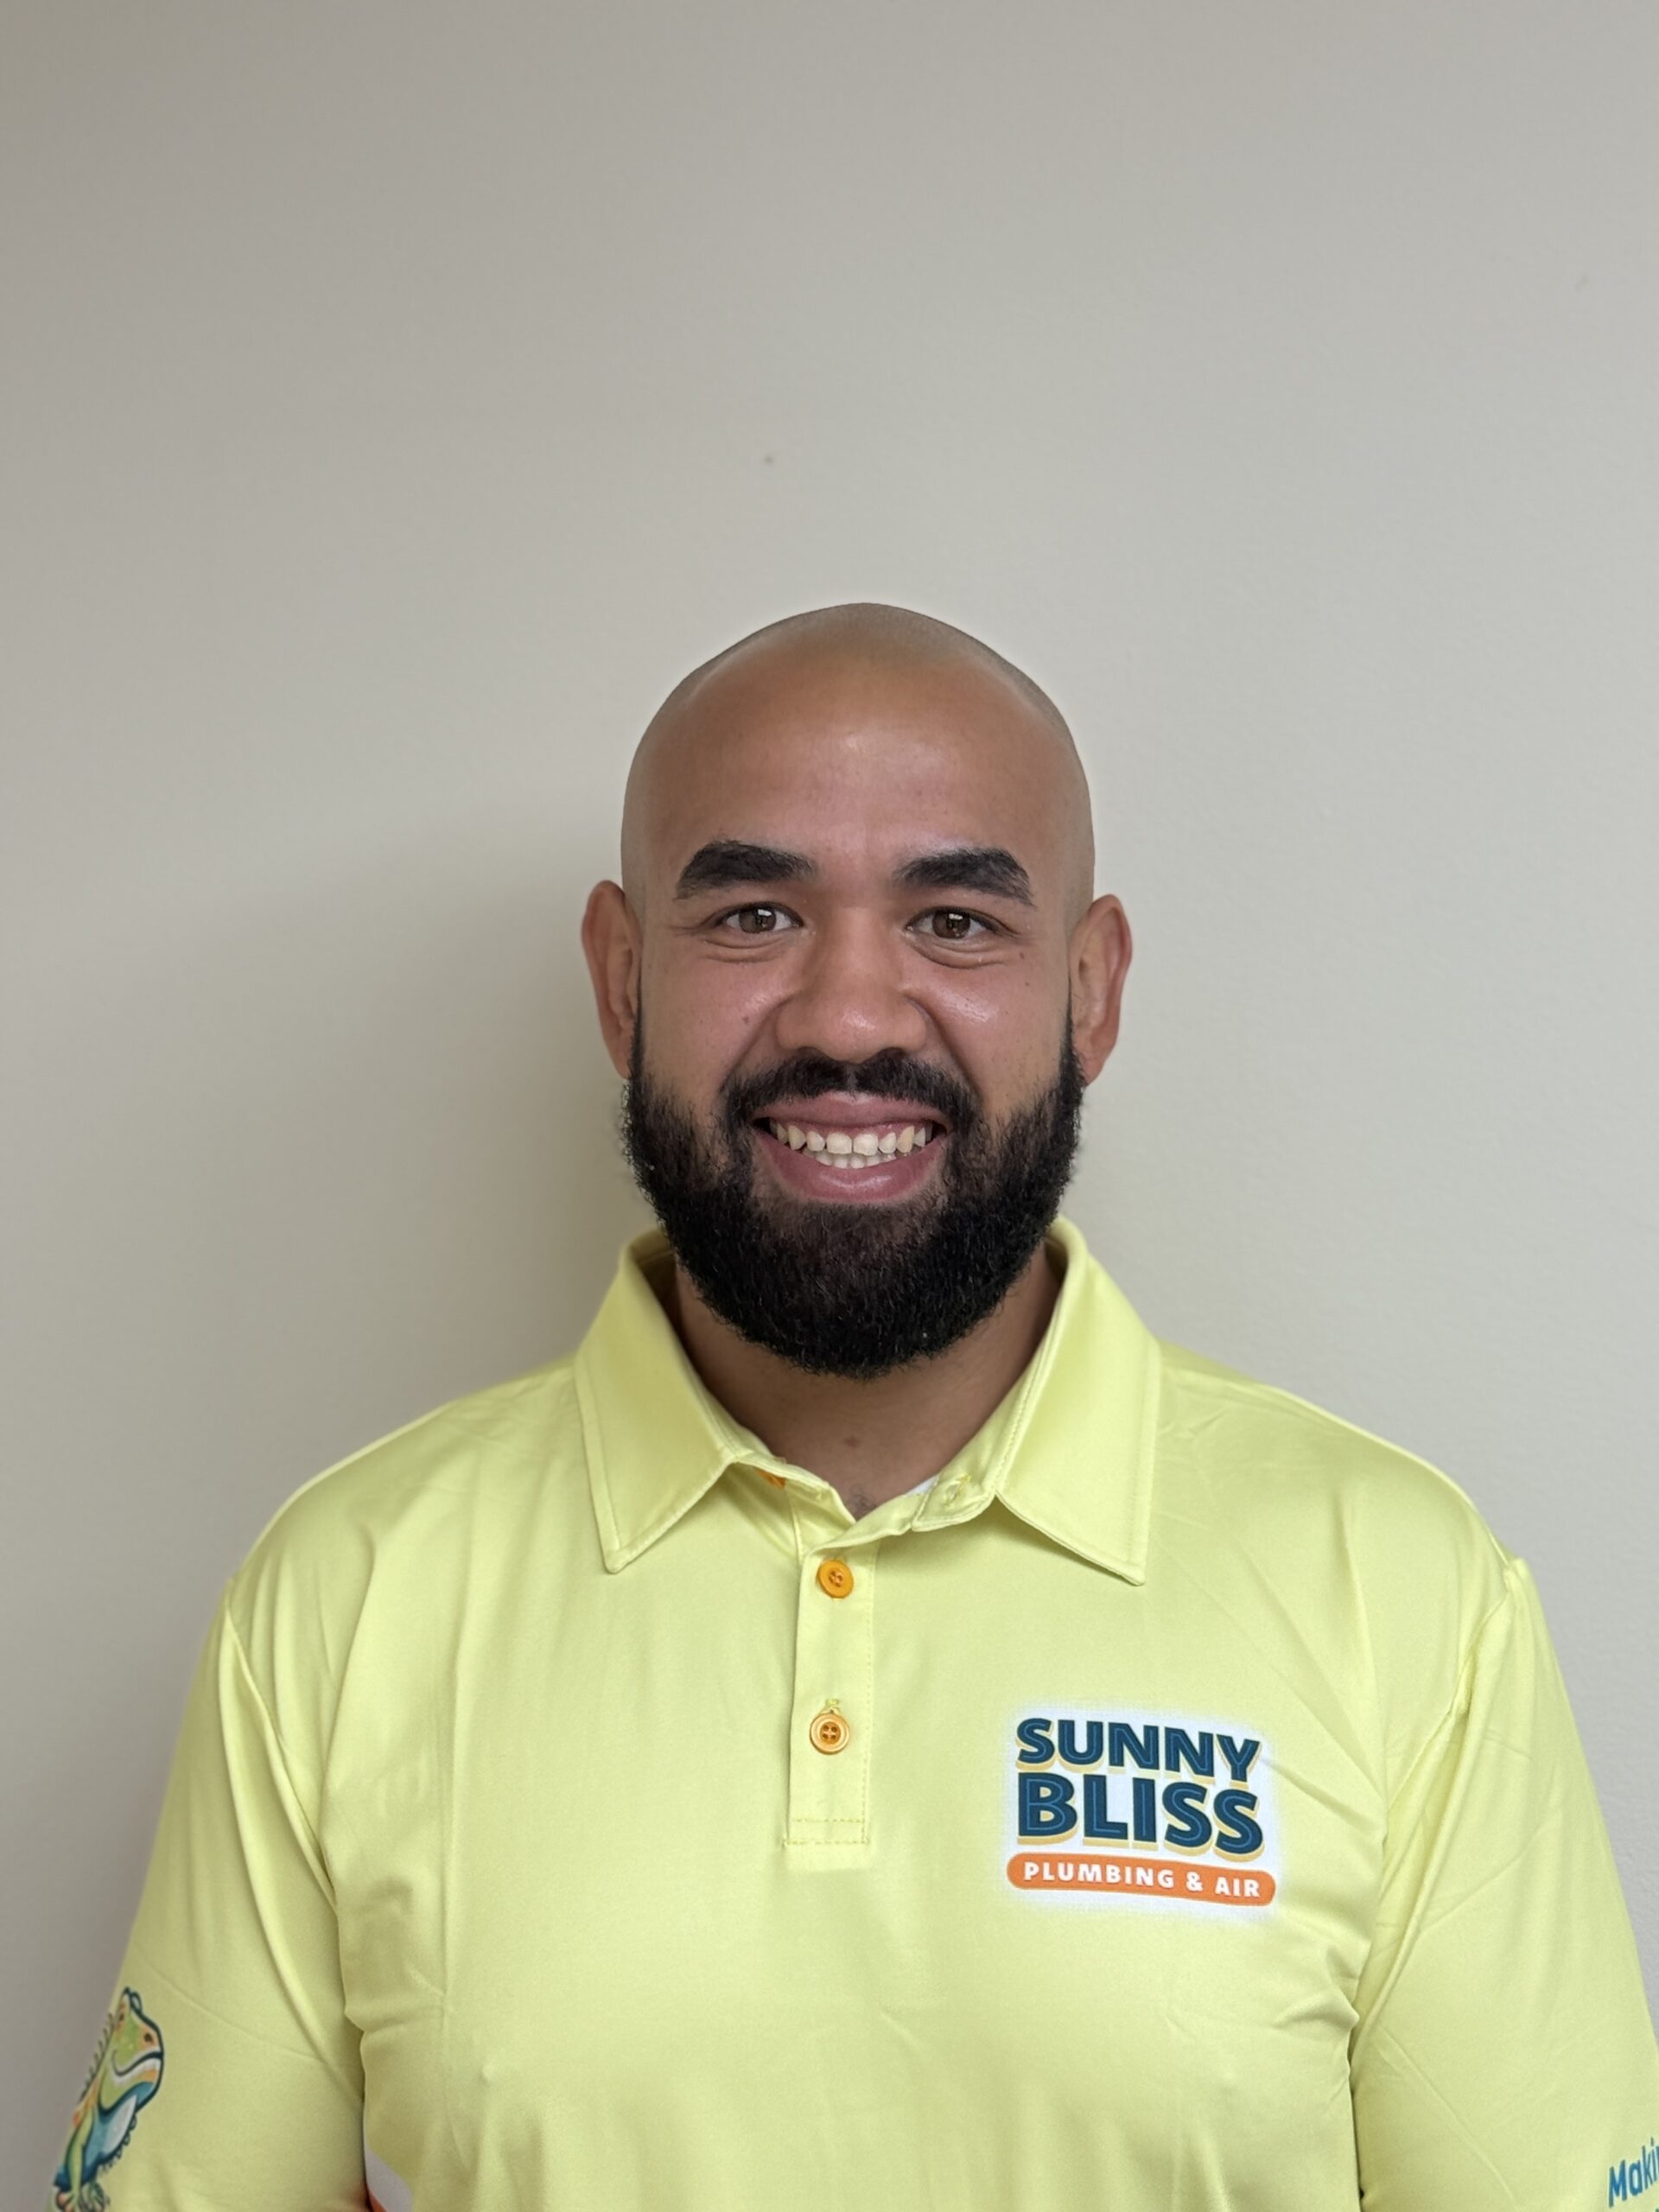
“Great job, Sunny Bliss! Same-day service, effective communication, and a responsible, professional team. Leo not only solved the problem but also identified the source of it. Very professional throughout the entire process. I will definitely recommend this company!”
Luciene Cofresi
Technician: Leo
AC Problem in Miami? We Can Help Today.
Don’t wait for a small refrigerant leak to become a compressor failure, or for your AC to give out on the hottest day of the year. Call Sunny Bliss now — we answer 24/7, dispatch same-day, and guarantee upfront pricing with no overtime charges.
Schedule an AppointmentCall for Service Today