How to Build a Walk in Shower on a Concrete Floor

Did you know that most DIY shower projects fail within five years because people ignore the waterproofing. Not because they can’t tile properly or pick out nice fixtures, nope – it’s because water is basically an entity that will find every microscopic crack in your bathroom and destroy everything you’ve built.
When you’re figuring out how to build a walk-in shower on a concrete floor, waterproofing isn’t just important, it’s the whole ballgame.
The concrete slab you’re working with seems solid, right? Wrong. Concrete is super porous. And in places like Florida where the humidity hangs in the air like a wet blanket, that moisture will work its way through your concrete if you don’t prep it right.
The Concrete Slab: It’s Probably Not What You Think It Is
Before you even think about grabbing a trowel or opening a tube of sealant, you need to understand what you’re working with. That concrete floor isn’t just a slab – it’s got history. It’s got quirks. And it’s probably not level, no matter what your eyes tell you.
First thing: How old is your house? If you’re in an older Miami neighborhood, that slab could be from the 50s or 60s when building codes were basically suggestions. Those slabs are typically thinner, often don’t have proper vapor barriers underneath, and sometimes were mixed on-site with whatever aggregate was handy. Translation: they’re unpredictable as hell.
Get yourself a moisture meter and test that concrete in multiple spots. If you’re getting readings above 4%, stop everything. You’ve got a moisture problem that needs addressing before you even think about how to build a walk-in shower on a concrete floor. In Florida’s climate, this is doubly important – the groundwater situation is no joke, especially in coastal areas.
The Tools You Actually Need vs. The Stuff They’ll Try to Sell You
Here’s what you actually need:
- Angle grinder with diamond blade (don’t cheap out here)
- Quality thinset mortar (not the premixed garbage)
- Waterproofing membrane (sheet or liquid, we’ll get into that)
- Shower pan liner (40-mil PVC, not the 30-mil stuff)
- Reinforced mortar bed mix
- Manual or electric wet saw for tile cutting
- Notched trowels (1/4″ x 3/8″ is your friend)
- Level (get a 4-footer at minimum)
- Slope tool or screeder
- Marking chalk line
- Utility knife with extra blades
- Mixing bucket and margin trowel
- Caulk gun and quality silicone
What you don’t need is that specialized $200 tool that does one job you’ll use once. And contrary to what the box store employee says, you don’t need their premium tile installation kit that’s marked up 300%.
Demolition – Where Most DIYers Mess Up Before They Even Start
Here’s where people get excited and start swinging hammers like they’re on demo day TV shows. Stop. Just stop. Controlled demolition is an art form, especially when you’re figuring out how to build a walk-in shower on a concrete floor.
If you’re replacing an existing shower or tub, you need to remove everything down to the concrete without damaging the slab. That means careful removal of tile, backer board, any mortar bed, and fixtures. I’ve seen people go nuts with a sledgehammer and crack their concrete slab – now they’ve got a $2,000 repair before they even start the actual project.
In older Miami homes, be especially careful with walls. Many were built with materials we now know are problematic (read: asbestos). If your home was built before 1980, get that stuff tested before you start making dust.
Planning Your Drain Location – This Is Non-Negotiable Physics
Water flows downhill. Revolutionary concept, I know. But you’d be shocked how many people try to fight gravity when learning how to build a walk-in shower on a concrete floor.
You’ve got two options with your drain on concrete:
- Use the existing drain location (easier but limits design)
- Cut a new drain location in the concrete (harder but gives freedom)
Option 1 is straightforward. Option 2 means you’re cutting into your slab, which is doable but introduces more complexity. You’ll need to rent a concrete saw, cut carefully to avoid any rebar or radiant heating (please tell me you checked for those), and then install a new drain that ties into your existing plumbing.
If you’re in South Florida, remember that our water table is higher than most places. Your drain needs to connect properly to your home’s waste system, not just disappear into the ground. I’ve seen Florida contractors take shortcuts here that would make your hair curl.
Waterproofing Methods That Actually Work in High-Humidity Environments
This is where the rubber meets the road, or in this case, where the membrane meets the mortar. When tackling how to build a walk-in shower on a concrete floor, waterproofing isn’t just another step – it’s THE step.
There are basically three approaches that are worth considering:
- Traditional pan liner method (the old-school approach)
- Liquid applied membranes (newer technology, easier application)
- Sheet membrane systems (precise but more technical)
The traditional pan liner method involves a PVC or CPE liner that gets installed over your pre-slope, up the walls about 8″, and then covered with your final mortar bed. It’s bulletproof when done right, but it has more failure points for DIYers.
Liquid membranes like RedGard or Hydro Ban get painted or rolled onto your surfaces after smoothing everything out. They’re more forgiving for beginners but require multiple coats and careful attention to coverage.
Sheet membranes like Schluter-KERDI are my personal preference, especially in the Florida climate where moisture is always trying to win. They’re more expensive and require specific installation techniques, but they create an unbroken waterproof barrier that’s hard to mess up if you follow instructions.
Creating the Perfect Slope
Your shower floor needs a slope of 1/4″ per foot toward the drain. Not negotiable. Not “close enough.” Exactly that. Too little slope and water pools; too much and it’s uncomfortable to stand on.
When studying how to build a walk-in shower on a concrete floor, understanding this slope is critical. You’ll create this slope with your mortar bed, which needs to be mixed to a “dry pack” consistency – like damp sand that holds its shape when squeezed.
The pros use a screeder or slope tool that pivots from the drain to ensure perfect consistency. You can make one with a straight piece of wood cut to the right length. Place your drain at the proper height (this is crucial), then screed your mortar from the walls down to the drain flange, maintaining that 1/4″ per foot slope in all directions.
In Miami’s climate, give yourself extra drying time between mortar application and the next steps. Our humidity will slow the curing process, and rushing leads to cracks.
Picking Tile That Won’t Make You Regret Everything Later
Not all tile is created equal, and not all tile belongs in a shower. Full stop. When figuring out how to build a walk-in shower on a concrete floor, your tile selection matters way more than most people realize.
For floor tiles, you need something with a slip resistance rating. Those glossy, gorgeous tiles you fell in love with? They become a death trap when wet. Look for tiles with an R10 or higher slip rating, or a COF (coefficient of friction) of 0.42 or above.
Size matters too. Tiny mosaic tiles give you more grout lines which equals more traction. Large format tiles are harder to slope properly toward the drain. I typically recommend something in the 2″×2″ to 4″×4″ range for shower floors, especially in Florida homes where seniors might be using the shower (falls are no joke).
And for the love of all things holy, don’t use natural stone unless you’re prepared to seal it regularly. The limestone commonly found in Florida might seem like a natural choice, but it’s porous and will absorb shower water like a sponge.
The Curb Question – To Build or Not to Build?
A truly curbless shower looks amazing. It’s also significantly harder to execute properly when working out how to build a walk-in shower on a concrete floor. So let’s be honest about your skill level here.
If this is your first rodeo, build a modest curb. It creates a margin for error in your waterproofing and helps contain water in the shower area. A 4″ curb is plenty – you don’t need the 8″ monsters from the 1990s.
Building the curb properly means framing it (typically with bricks or solid lumber, not hollow framing), waterproofing it completely (including the top!), and tiling it with bullnose or specialized edge tiles. The curb is where many DIY showers start to leak first, so take your time here.
For Miami homeowners, especially those considering aging in place or resale value, know that curbless showers are increasingly desirable. But they require either dropping the shower floor area by cutting into the slab or building up the bathroom floor outside the shower – neither is a simple weekend project.
Wall Construction That Won’t Fall Apart in Two Years
Your shower walls need to be rock solid, literally. When learning how to build a walk-in shower on a concrete floor, people often focus so much on the floor that they half-ass the walls. Big mistake.
Forget standard drywall. Forget water-resistant greenboard. Neither belongs in a shower. You need cement backer board like Durock, HardieBacker, or Wonderboard. These are cement-based boards that won’t deteriorate when exposed to moisture.
The right way to install them:
- Frame with pressure-treated 2×4s if you’re building new walls
- Leave a 1/4″ gap between the bottom of the backer board and the shower pan
- Use alkali-resistant fiberglass tape on the seams
- Use only cement board screws, not drywall screws (which will rust)
- Apply your waterproofing system over the entire surface
In Florida’s humid environment, proper wall construction is even more critical. I’ve torn out five-year-old showers that had black mold colonies living inside the walls because corners were cut during construction.
Shower Niches – They’re Always Leaking

Everyone wants those built-in shower niches for shampoo bottles. They also happen to be one of the most common sources of leaks when figuring out how to build a walk-in shower on a concrete floor.
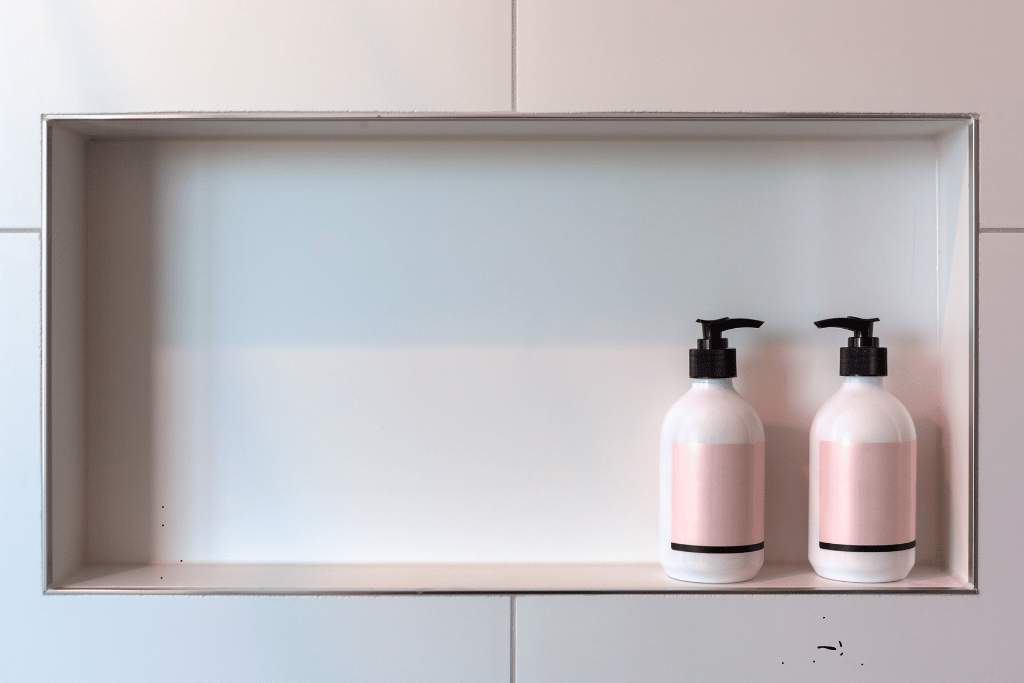
If you want a niche, buy a pre-formed one made specifically for showers. Don’t try to frame one yourself unless you really know what you’re doing. These prefabricated niches are designed with the proper slopes and waterproofing integration points.
The key installation points:
- Never put a niche on an exterior wall (especially in Miami where thermal differences can create condensation)
- Waterproof the hell out of it – twice what you think is necessary
- Install it between studs without compromising structural support
- Make sure the bottom has a slight forward slope so water runs out
- Use special care when tiling, as the corners are vulnerable points
Bench Seating: Luxury or Necessity?
A shower bench seems like a nice luxury until you drop a bar of soap or need to shave your legs. When exploring how to build a walk-in shower on a concrete floor, consider whether a bench makes sense for your space and needs.
There are three ways to go:
- Built-in permanent bench (most difficult)
- Floating bench attached to blocking in the walls (intermediate)
- Removable waterproof bench (easiest)
If building a permanent bench, you need to construct it before waterproofing, typically with concrete blocks or specialty foam bench forms. The top must slope slightly forward for drainage, and every surface gets waterproofed just like your walls and floor.
In Florida homes, especially those in Miami Beach or coastal areas, a bench provides a place to sit and rinse off sand after a beach day – practical, not just luxurious.
Glass Doors vs. Curtains – It’s Not Just About Looks
The shower enclosure is the final major decision when learning how to build a walk-in shower on a concrete floor. This choice affects everything from your waterproofing strategy to the overall look and function.
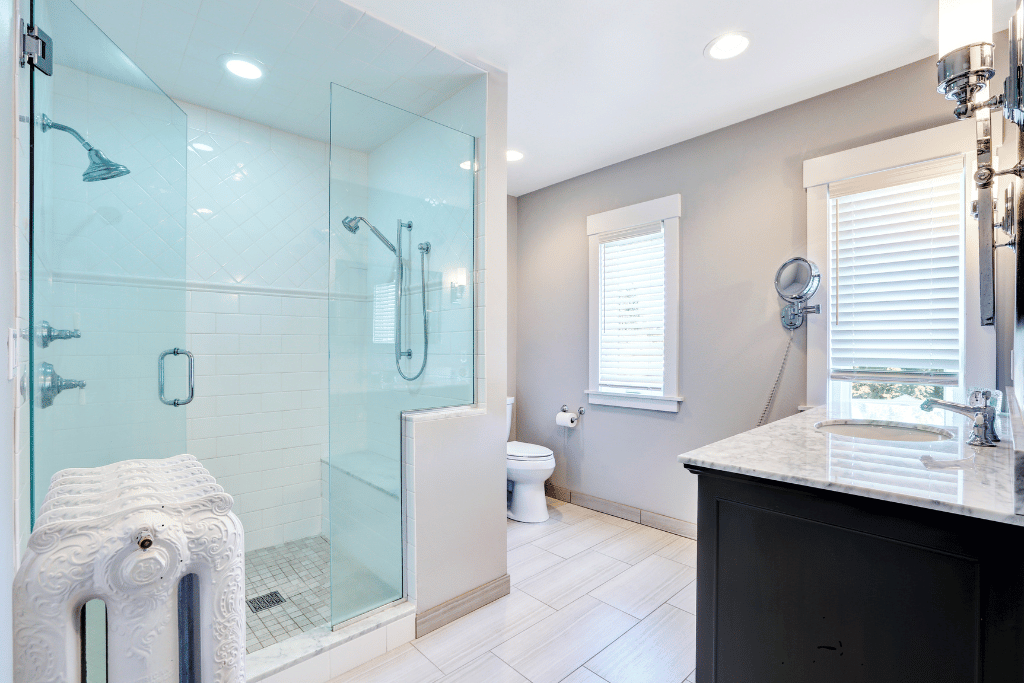
Glass doors look sleek but come with considerations:
- Frameless glass requires precise measurements and is unforgiving of walls that aren’t perfectly plumb
- Semi-frameless options offer more adjustability
- Framed doors are most forgiving but look dated
Curtains are cheaper and easier but require a properly installed curtain rod and a curtain that actually keeps water in the shower.
In Florida’s humid climate, glass doors help contain steam better, which can reduce bathroom humidity and potential mold issues. However, they require regular cleaning to prevent water spots and mineral buildup from our hard water.
Ventilation – The Step No One Talks About But Everyone Regrets Skipping

This isn’t strictly part of building the shower, but it’s critical to its longevity, especially in Florida. A properly sized and installed bathroom exhaust fan is non-negotiable when figuring out how to build a walk-in shower on a concrete floor.
In Miami’s climate, you need a fan rated for at least 1 CFM (cubic foot per minute) per square foot of bathroom, and it should vent completely outside, not into an attic or soffit. Without proper ventilation, even the best-built shower will eventually develop mold and mildew issues.
The fan should be installed away from the shower but close enough to efficiently remove steam. Run it during your shower and for at least 30 minutes afterward – install a timer switch if needed to make this foolproof.
Setting Up The Tiles
Now comes the visible part that everyone will judge. When working out how to build a walk-in shower on a concrete floor, the tile installation is where your attention to detail becomes obvious.
Mix only as much thinnest as you can use in 20 minutes. In Florida heat, that working time gets even shorter. Apply it with the flat side of the trowel first, then comb it with the notched side at a 45-degree angle. This creates ridges that collapse uniformly when you press the tile into place.
Start from the center of the shower floor and work outward. For walls, start from the bottom row (using spacers to hold it slightly off the floor) and work up. Use spacers between all tiles for consistent grout lines.
Cut tiles with a quality wet saw. Those manual snap cutters are fine for straight cuts on small jobs, but a shower involves too many precise cuts to skimp here.
Grout Selection
Not all grout is shower grout. When investigating how to build a walk-in shower on a concrete floor, understanding grout options prevents future headaches.
For shower applications, especially in Miami’s climate, you want epoxy grout or, at minimum, a high-quality modified sanded grout with a sealer. Standard grout is porous and will eventually allow water to penetrate to your waterproofing layer.
Epoxy grout is harder to work with but nearly bulletproof once cured. It’s stain-resistant, waterproof, and doesn’t need sealing. The downside? You have maybe 30 minutes working time, it’s harder to clean off tiles, and it costs more.
Whatever you choose, mix it exactly according to manufacturer specifications – not wetter, not drier. And give it the full curing time before using the shower, which could be up to a week depending on the product and humidity levels.
The Final Touches That Make or Break Your Shower Experience
When completing your project of how to build a walk-in shower on a concrete floor, don’t blow it in the last mile. The fixtures and finishing touches matter more than you might think.
- Caulk, don’t grout, all inside corners and where fixtures meet tile
- Use 100% silicone caulk specifically made for showers
- Install a quality shower valve that maintains temperature even when someone flushes the toilet
- Consider a handheld shower option in addition to your fixed showerhead
- Make sure your shower threshold has at least a 5-degree slope back into the shower
In Miami homes, where we actually use outdoor showers year-round, consider adding an outdoor-access shower panel that lets you rinse off before entering the house – a feature northern builders never think about but Florida homeowners love.
Need Help With Your Walk-In Shower? Call the Florida Pros
Look, building a walk-in shower isn’t easy. On top of that, you’re shelling a lot of money as well – between $3000 – $10,000 or more on the bathroom remodel. If after reading this guide on how to build a walk-in shower on a concrete floor, you’re feeling overwhelmed, that’s actually smart self-awareness.
At Sunny Bliss, we’ve been handling plumbing services including walk-in shower installations throughout Miami, Florida for years. We know the specific challenges of Florida construction – from the high water table to the humidity that makes everything just a little more difficult. Whether you need a full shower build or just want someone to handle the tricky waterproofing and drain work, we’ve got you covered across Miami and surrounding areas.
Our experienced team knows all the pitfalls of bathroom remodeling in South Florida conditions, and we guarantee our work against leaks and failures. For all your plumbing needs, including custom walk-in shower installations and other plumbing constructions, give us a call at 305-990-1399. We serve all of Miami, Florida and can help turn your shower project from a potential disaster into your home’s perfect oasis.